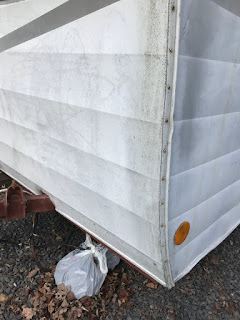
I was so anxious to get started today on taking the Shasta apart.
I have learned that due to their age and inevitable water damage-
the first thing to do when rehabing a vintage camper
is to take off the outer aluminum (called skins)
in order to see how much rot in present in the framework.
From there- you start replacing what is rotted.
From there- you start replacing what is rotted.
However, that's not an easy task!
HUNDREDS of 50 year old screws need to be removed first to get to that point.
So, armed with coffee, lots of tools,
and ideas learned from the 'Vintage Trailer Talk Forum',
I got to work on the front window and side trim so I could finally
peek under the front skin.
After spraying the screws with PB Blaster, most came out rather easy.
Of course, there were those suckers that stripped right away.
To get them out, I used a Dremel tool to put a slot in the screw head, which made it
possible to remove them with a slotted screwdriver.
Amazingly- I was able to get the pesky stripped screws out this way.
I was kinda happy about that :)
I was kinda happy about that :)
After a few hours, I had removed all the screws from the front window,
and the trim that goes along the corners of the front skins ( called j-rail).
Now I have my first 'smaller' project to do -
cleaning, shining, and replacing the seals
for all the windows.
Wait till you see how great they can look !


Comments
Post a Comment