Well, the day has come!!
I have started to install all of the metal on my camper!!!
Can I hear a HALLELUJAH !!!!
OK... Pictures to come...
but first, the latest update since April-
Here's a rundown of the things I have completed:
I laminated the table, and added the metal molding.
It turned out great!
(Metal moulding not in this photo)
(Metal moulding not in this photo)

I finished putting on the underlayment.
I marked all my electric wires with yellow paint and marker lines
so that I am sure not to staple/screw through them when we add the metal.

I installed my cove moulding on the countertop.
Not thrilled with the mitered corner- so I may redo at some point-
but for now- it looks good :)

I test fit my Fantastik Fan- and hooked it up to see if it worked.
It did !! Yahoo !!

I took apart the hitch and tongue- it needed some work:
My brother is having a new shelf made for my battery and propane tank,
as the original is just too small for my bigger battery.

I got myself a grinder-
and boy does it rip through old paint!


I painted the tongue with primer and gloss black paint-
what a difference!

I got a new tongue jack- as the original one broke on me.
I still have the original wheel though- think that's cool to use :)

I installed the water inlet for shore water (hose at a campground).
I wanted it under the camper- as people sometimes trip over the ones that
come out the side- and rip the inlet from the camper!
This one will do well.

I did all the tow wiring myself!!
I got a new 7 pin cord and junction box-
ran the wires for all my lights under the camper
and up to where the lights will be.
My friend, John, came down to finish up my 12V system
(Thanks again UJT)
and was kind enough to check out my tow wiring
by running power through the plug-
and they all work!!
I am so proud that I did this right!
Yahoo !!

I installed the drain for my gray/black water tank.
It took a little finagling-
as the fitting on the tank is over 50 years old!
With the help of the guy at the RV store-
we came up with a solution.
With a little pipe cutting- I got it all set up!


I am cleaning up the very last pieces of metal trim
(UGH- thought I was done!)

and my WINGS!!!


Shasta's are renown for their wings-
which are just the coolest!
I'm gonna wait and add these last-
when she is all done- and that will be the time to
PARTY !!!
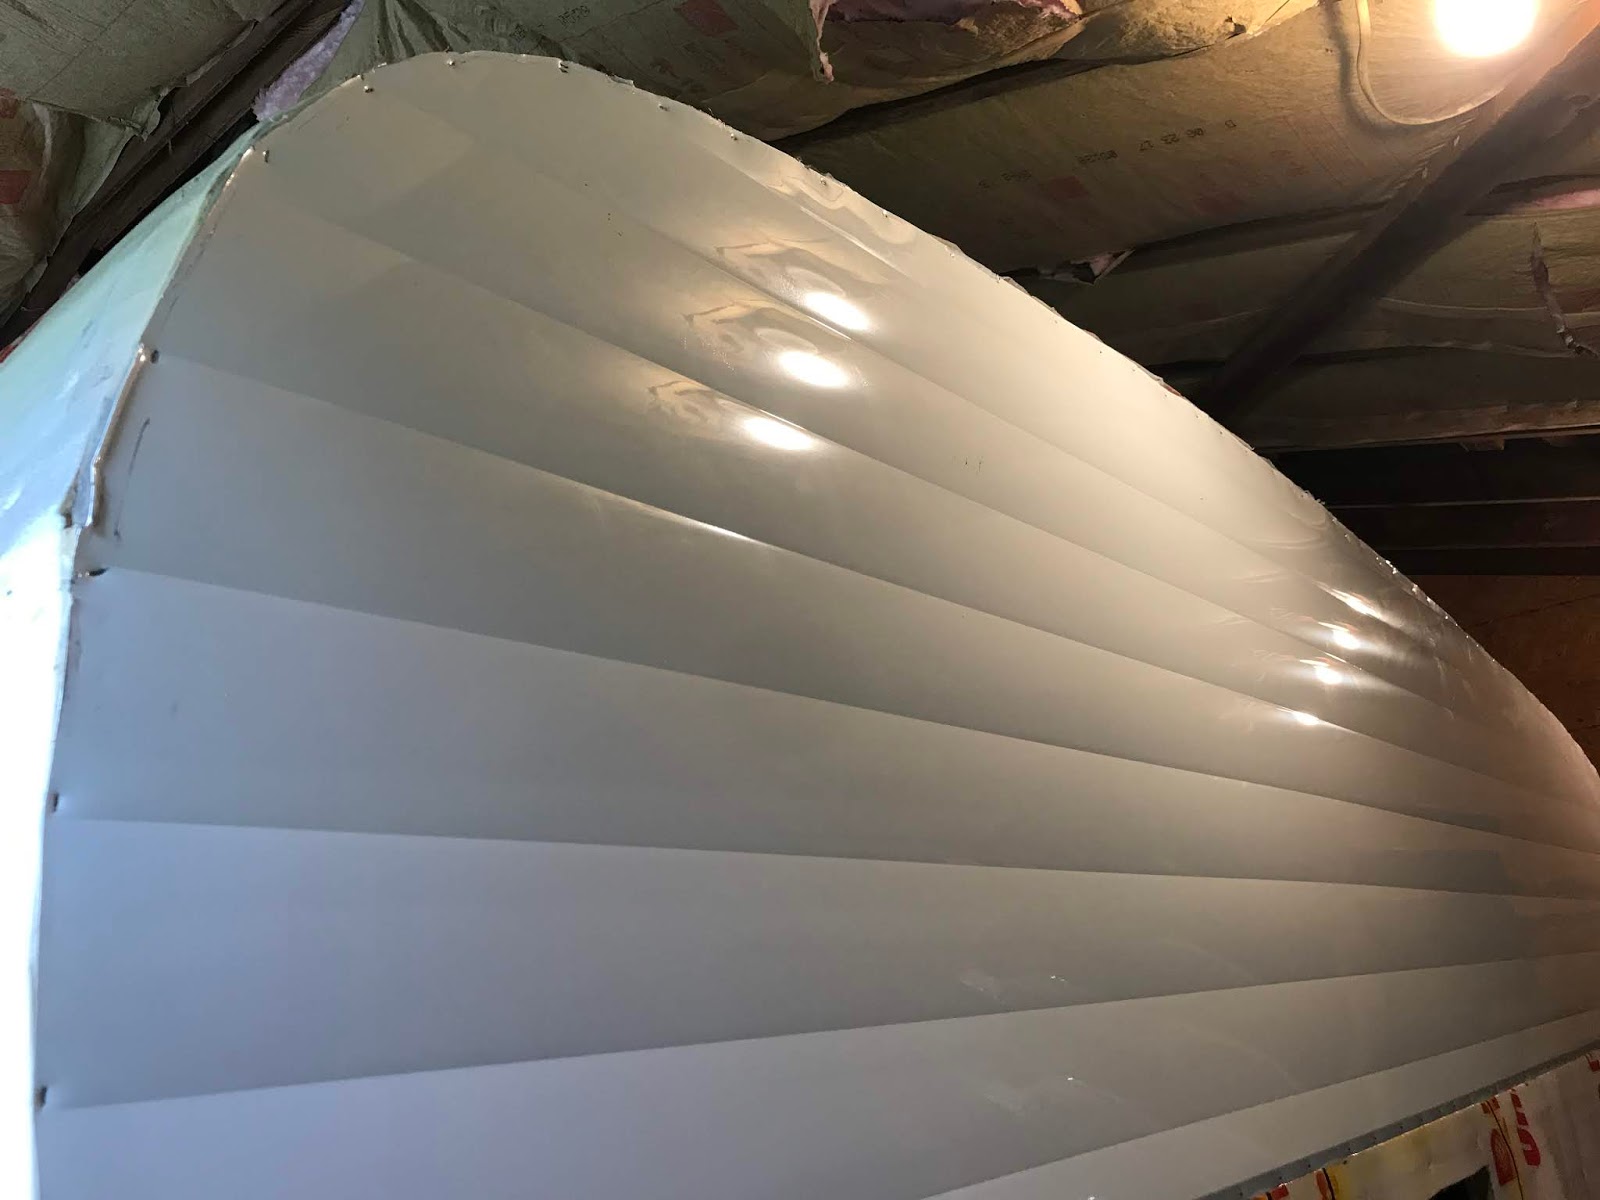
And......at last....
my awesome brothers all pitched in to assist me in installing my metal.
The top pieces were not easy- as it was a learning experience for us all.
Add in the 90+ degree heat in the barn, my tools that were lacking a bit,
and a 14' by 4' piece of very bendable metal...
and it was surely kinda tricky.
The finished result:


***BEAUTIFUL!!!!!***
After installing both sides,
I went out and bought an electric shears (boy do I have lots of tools!!)
and got to cutting the curves.
It was rather easy!


2 nights later,
my brother and my nephew helped to put up my bottom pieces.
They were much easier than the tops for sure :)


I am just so thrilled- it looks so good!!!
Now, to cut out the windows and vents...
then roof metal,
front and back...
but the hardest is done!
How cool is that !!!
Yahooooo!!!
Comments
Post a Comment