The side metal is on,
the side windows, vents, and brows are installed,
the running lights are working....
and the roof is on !!
Here's an update on what I've been doing lately:
Here's an update on what I've been doing lately:
Cutting out all of the window and vent holes wasn't too hard,
just had to be careful to not screw up.
I used the electric shears mostly, but hand shears also came in handy.


All the things that go in these opening are sealed with 'putty tape'-
a special, sticky sealing putty that comes on a roll.
You apply it around the edge of the item you are inserting in the hole,
and then screw the frame into place.
Makes for a water proof seal around the perimeter.
Don't forsee any leaks anytime soon :)
Here's some photos of the side items:


I did have a few screw-ups....
when cutting out the door, I was a bit too careful
and cut it a little small so as not to go over the edge.
Well, I forgot I need this metal for the door-
and the piece I cut was WAY too small!
UGH!
I had to order another piece from Hemet Valley RV- in California!
Not cheap...but it was necessary for sure.
Speaking of the door- I am just about ready to rebuild it.
This is what it looked like when I took it apart:


It was in sad shape.
SO....I disassembled it all,
cleaned up the aluminum:

rebuilt the interior framing:

painted the outside of the aluminum frame to match the new metal:

and was ready to fit new birch plywood on...
when I realized all the scrap pieces I have left are too small.
(and I have lots of scrap pieces)
UGH!
SO...I had to order another piece of birch.
Waiting on that to come in.
More cash....ahhh!!
And lastly, I am having the door jamb/frame rebuilt,
as the aluminum was in bad shape.
I am waiting for the metal shop to get that done...
then will put this dam door back together.
Costly door- that's for sure :(
I also tackled (and completed) the dreaded dinette windows.
Shasta put these solid windows in their trailers for only a few years,
and then redesigned them as they were prone to leaking.

I cannot tell you how many hours I have put into these windows! Ahhhh
Their shape is wonky - [parralelagram],
my framing was wonky [early woodworking skills were lacking],
and the process to put them in was kinda wonky too !
(Love that word :)
Gotta add wood shims before the framing and window seal
so that the window is pushed up against the metal tightly.

and the outside has about a hundred screws -
probably in an attempt to prevent the leaking that occurred.

I also decided to order safety glass for them vs. regular 1/4" window glass.
- and gees was it expensive $$
I got the pieces cut, took them home,
and successfully installed the curbside window.
I was so very happy.
When I took the paper off the street side glass -
it had a big crack.
Truly broke my heart!!
I did negotiate with the glass store for another piece
at less than half the cost-
as I swear I did not hit them on anything.
So..after another chunk of cash- I got the second window installed.
Thank God they are done :)

I installed all the marker lights- and they look so nice!

And...I just had to install the original SHASTA emblem-
gotta love it !!

My 2 brothers helped lift and tie down the roof metal


I got right to cutting it- as there needs to be only a 1/2" on each side hanging over the sides.
Not too hard- just time consuming,


This is then banged down to form a fold over- which I did today!!
Turned out great- and no big screw ups !! Yahooo
So...I only have the front and back pieces to install...
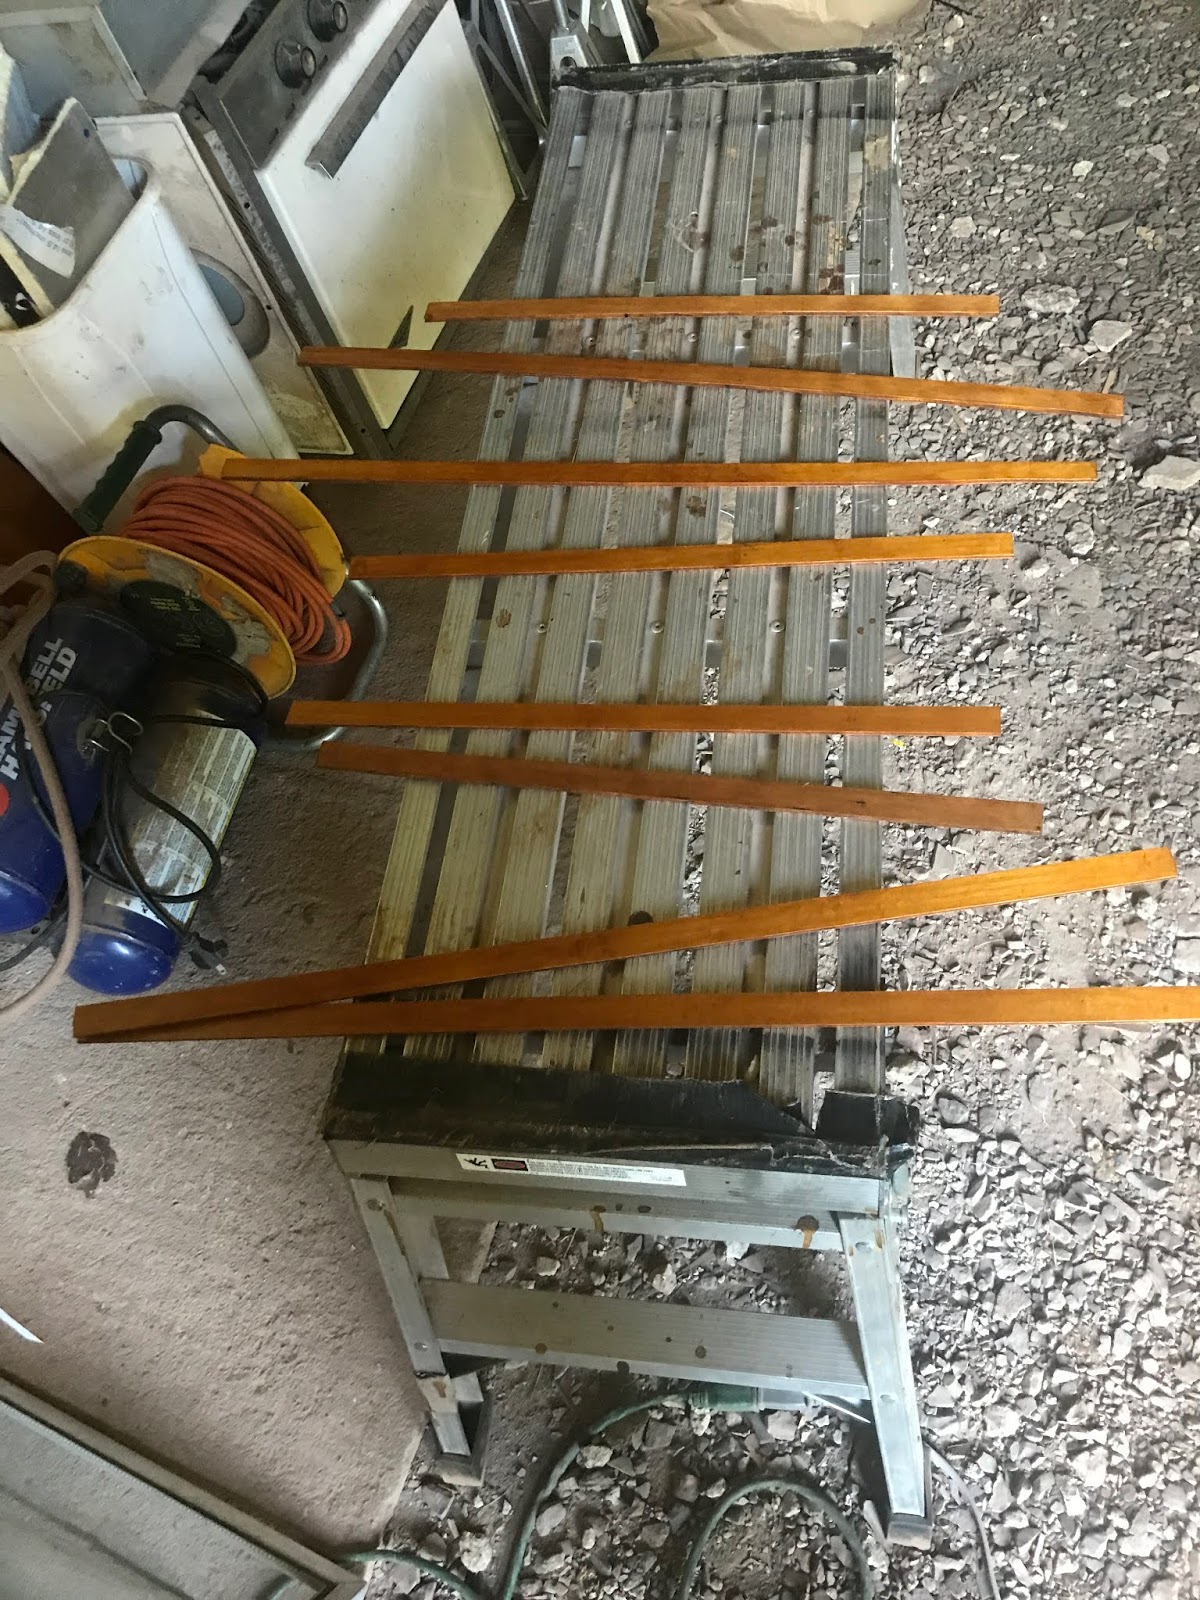
'j' rail to add to the whole trailer edge,
and 2 windows to put in...
and the exterior is done!!
My TO DO list is getting smaller everyday.
Not gonna make it to Colorado this year-
but this baby is gonna be done
SOON!!!!
To be continued.....
Comments
Post a Comment